— AD — This article contains sponsored content, all words and opinions are my own —
Do you ever spend months or even years decorating your new home right down to the very littlest details only to then realise that something is missing? While I’ve got more pampas grass than sense and too many knock-off Matisse art prints to count, there came a point where I realised there were no photos of me or my partner on display in our home. I mean if someone were to break into our flat, they would have no idea who lived there!
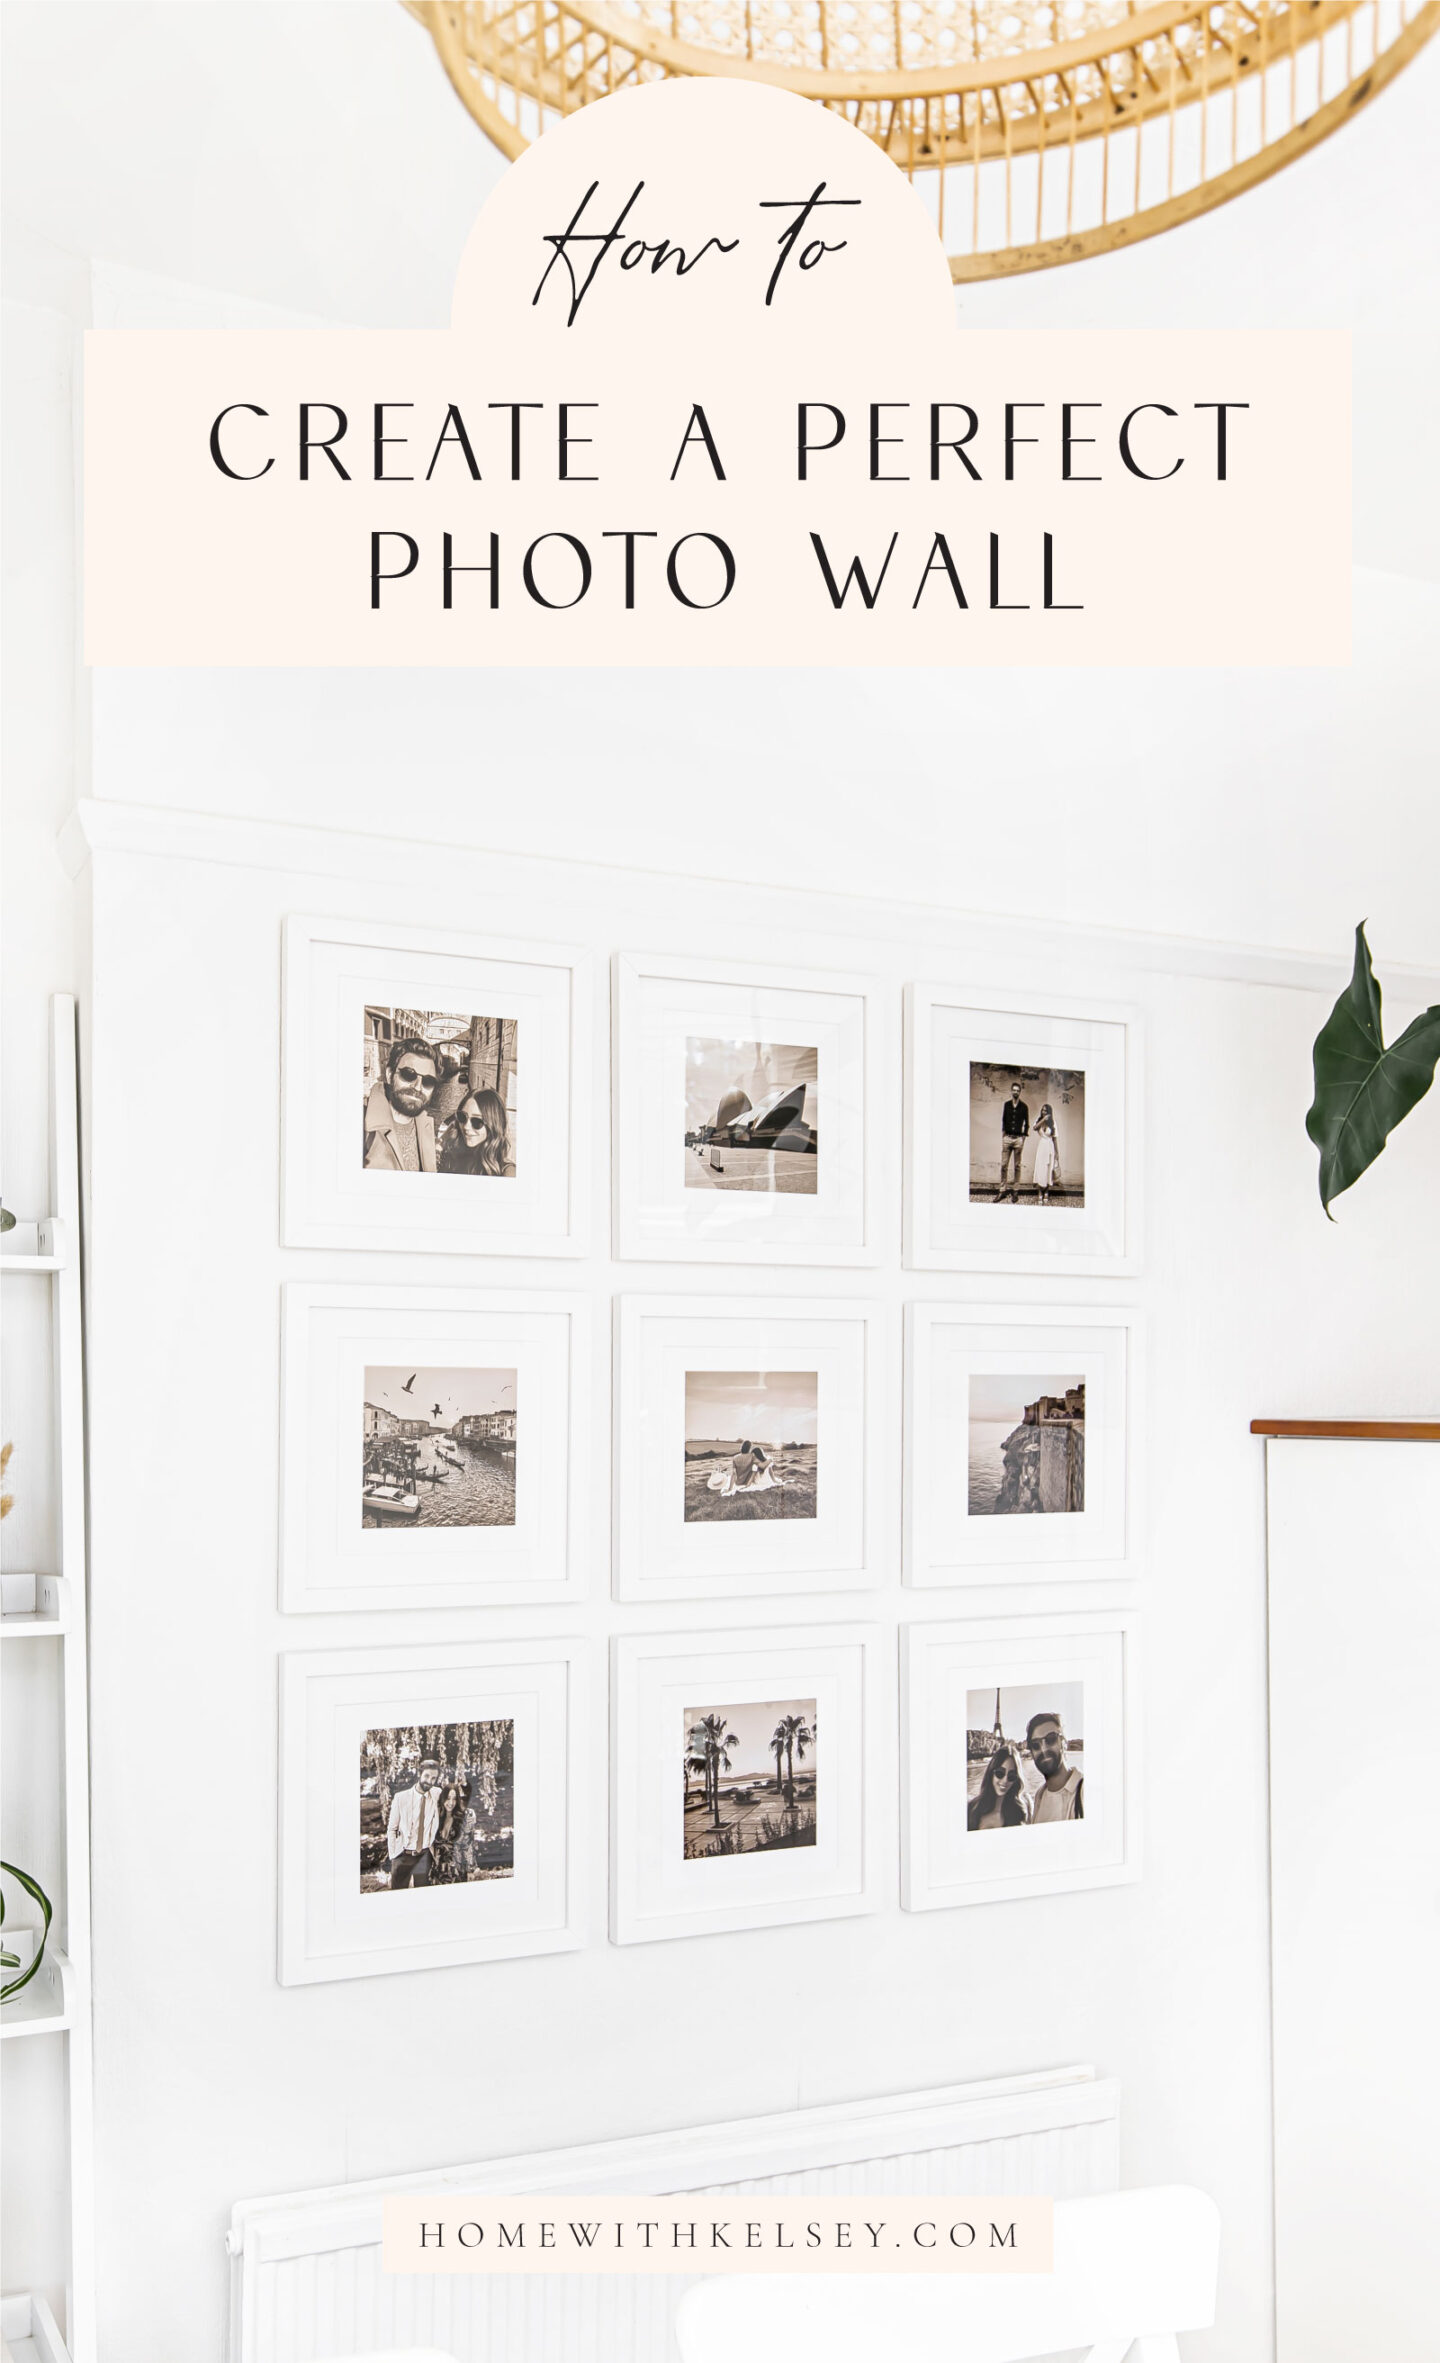
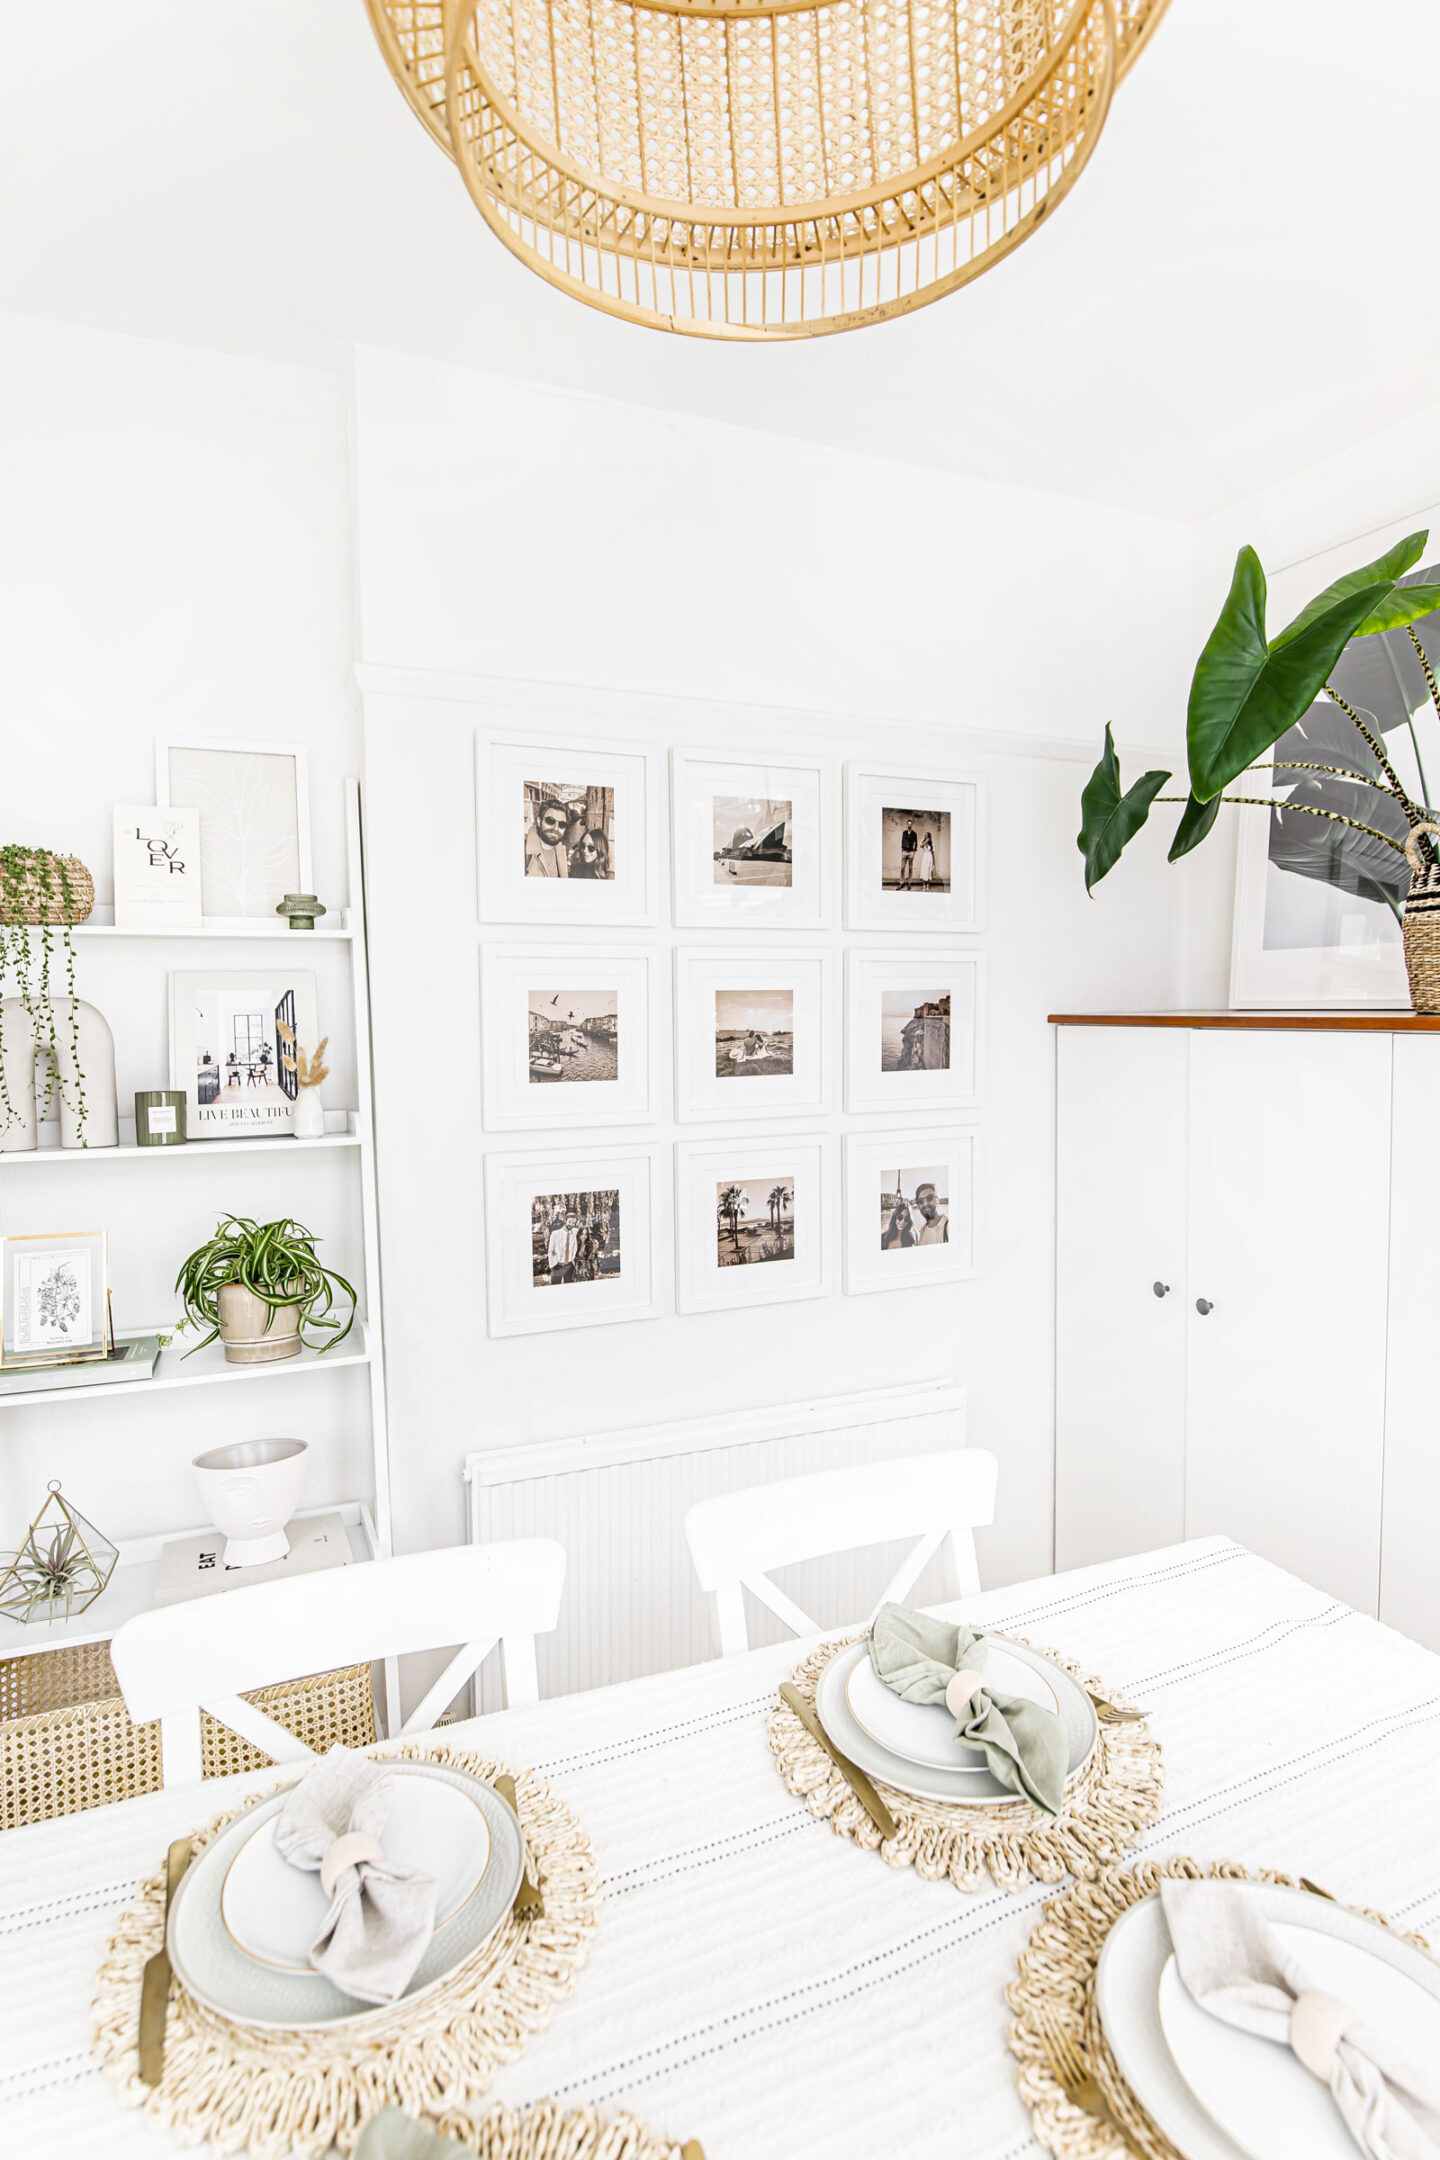
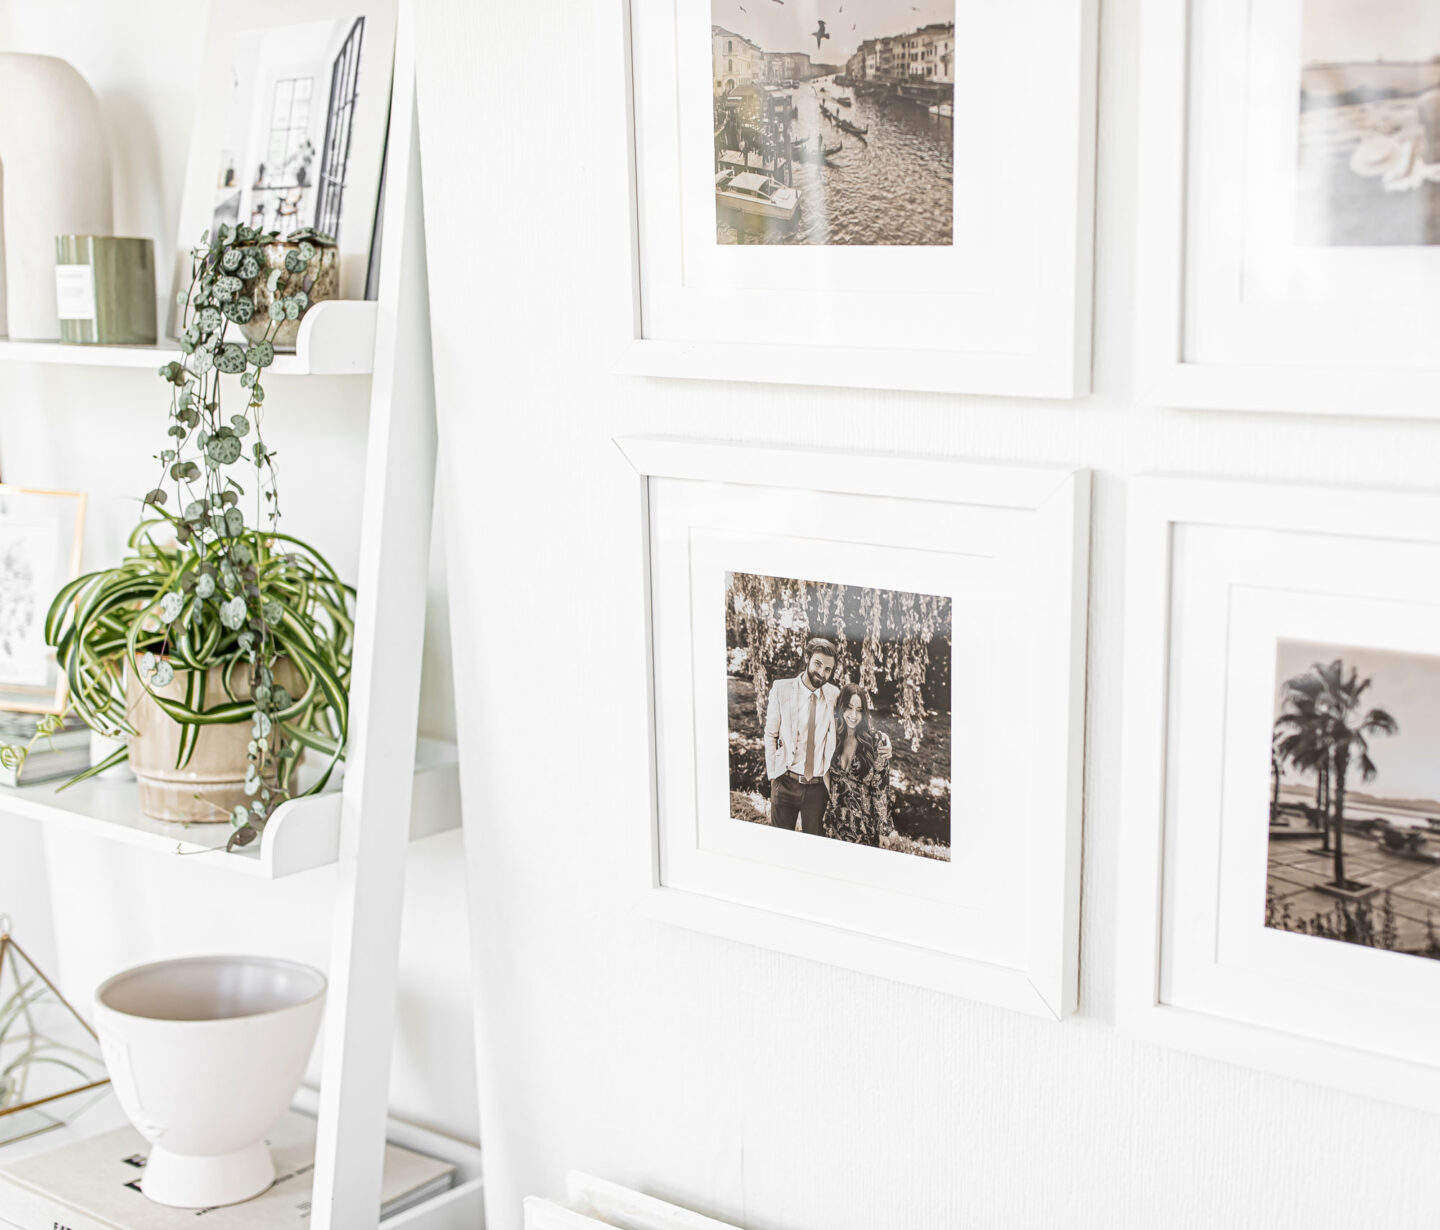
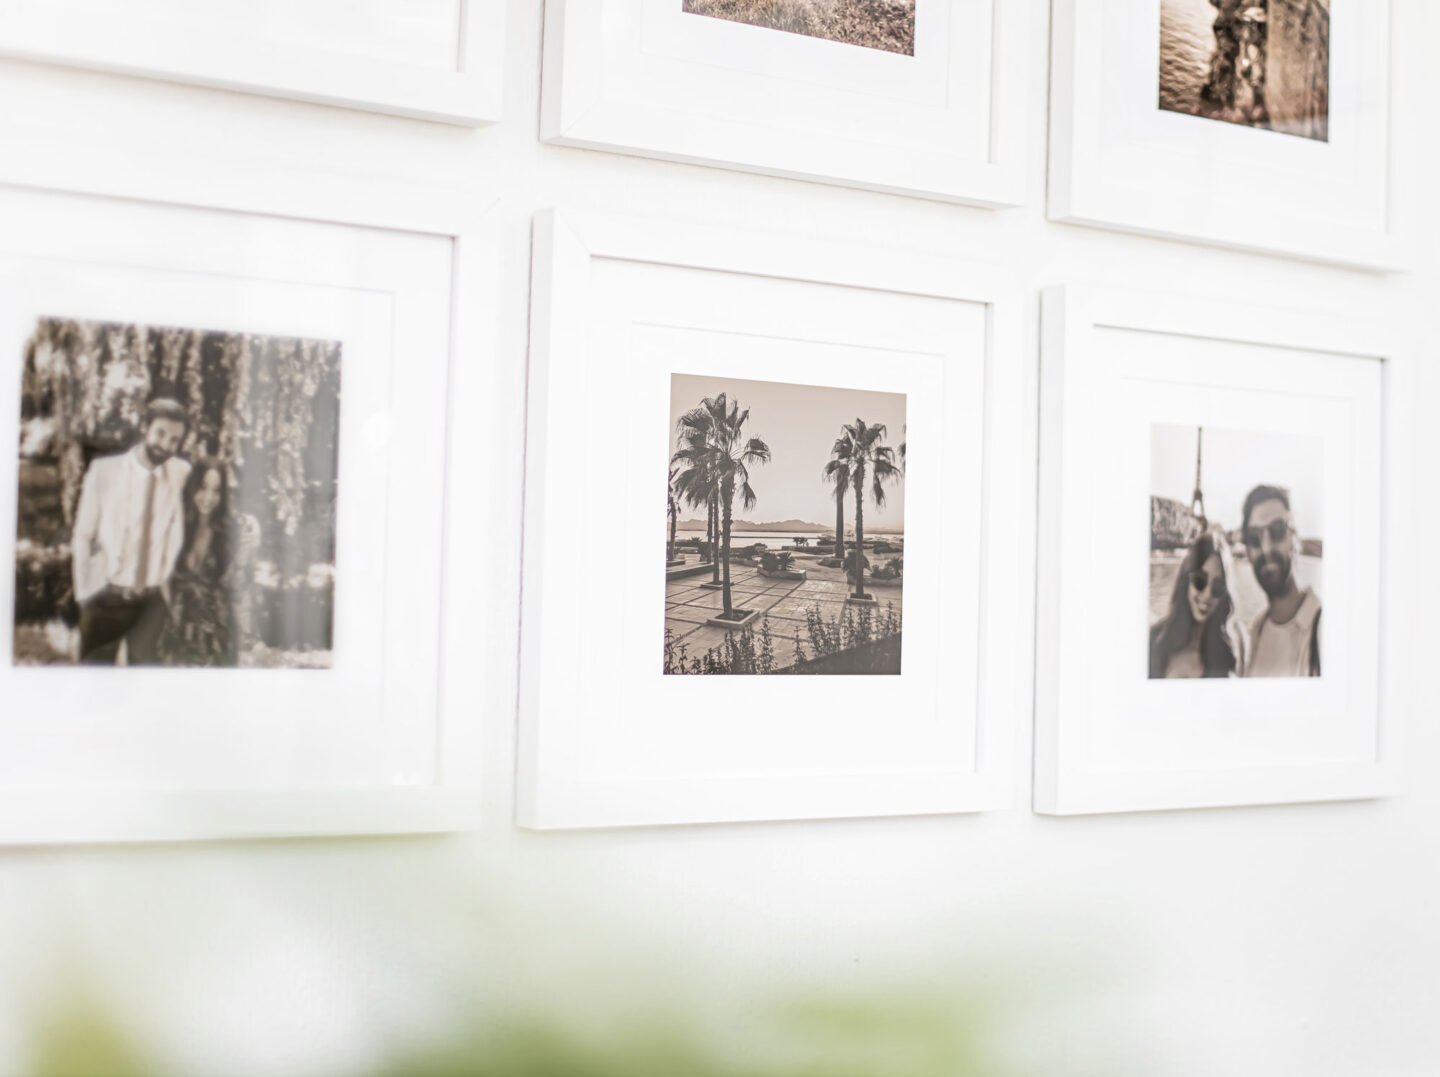
You could have all the decorative cushions in the world and yet ultimately what really makes a house into a home is YOU, but how often is your personality reflected in your interior decor? Since putting up my new gallery wall, filled with photos of Justin & I and our favourite travel memories, our home finally feels complete. It finally feels like US. I am in love with the finished look and in this post, I’ll be sharing step-by-step instructions on how you can create your own gallery wall in your home. And as an added bonus I’ve got five FREE Lightroom Presets, so keep scrolling for more details on that.
How to make a Gallery Wall
Step 1 — Measure & Plan
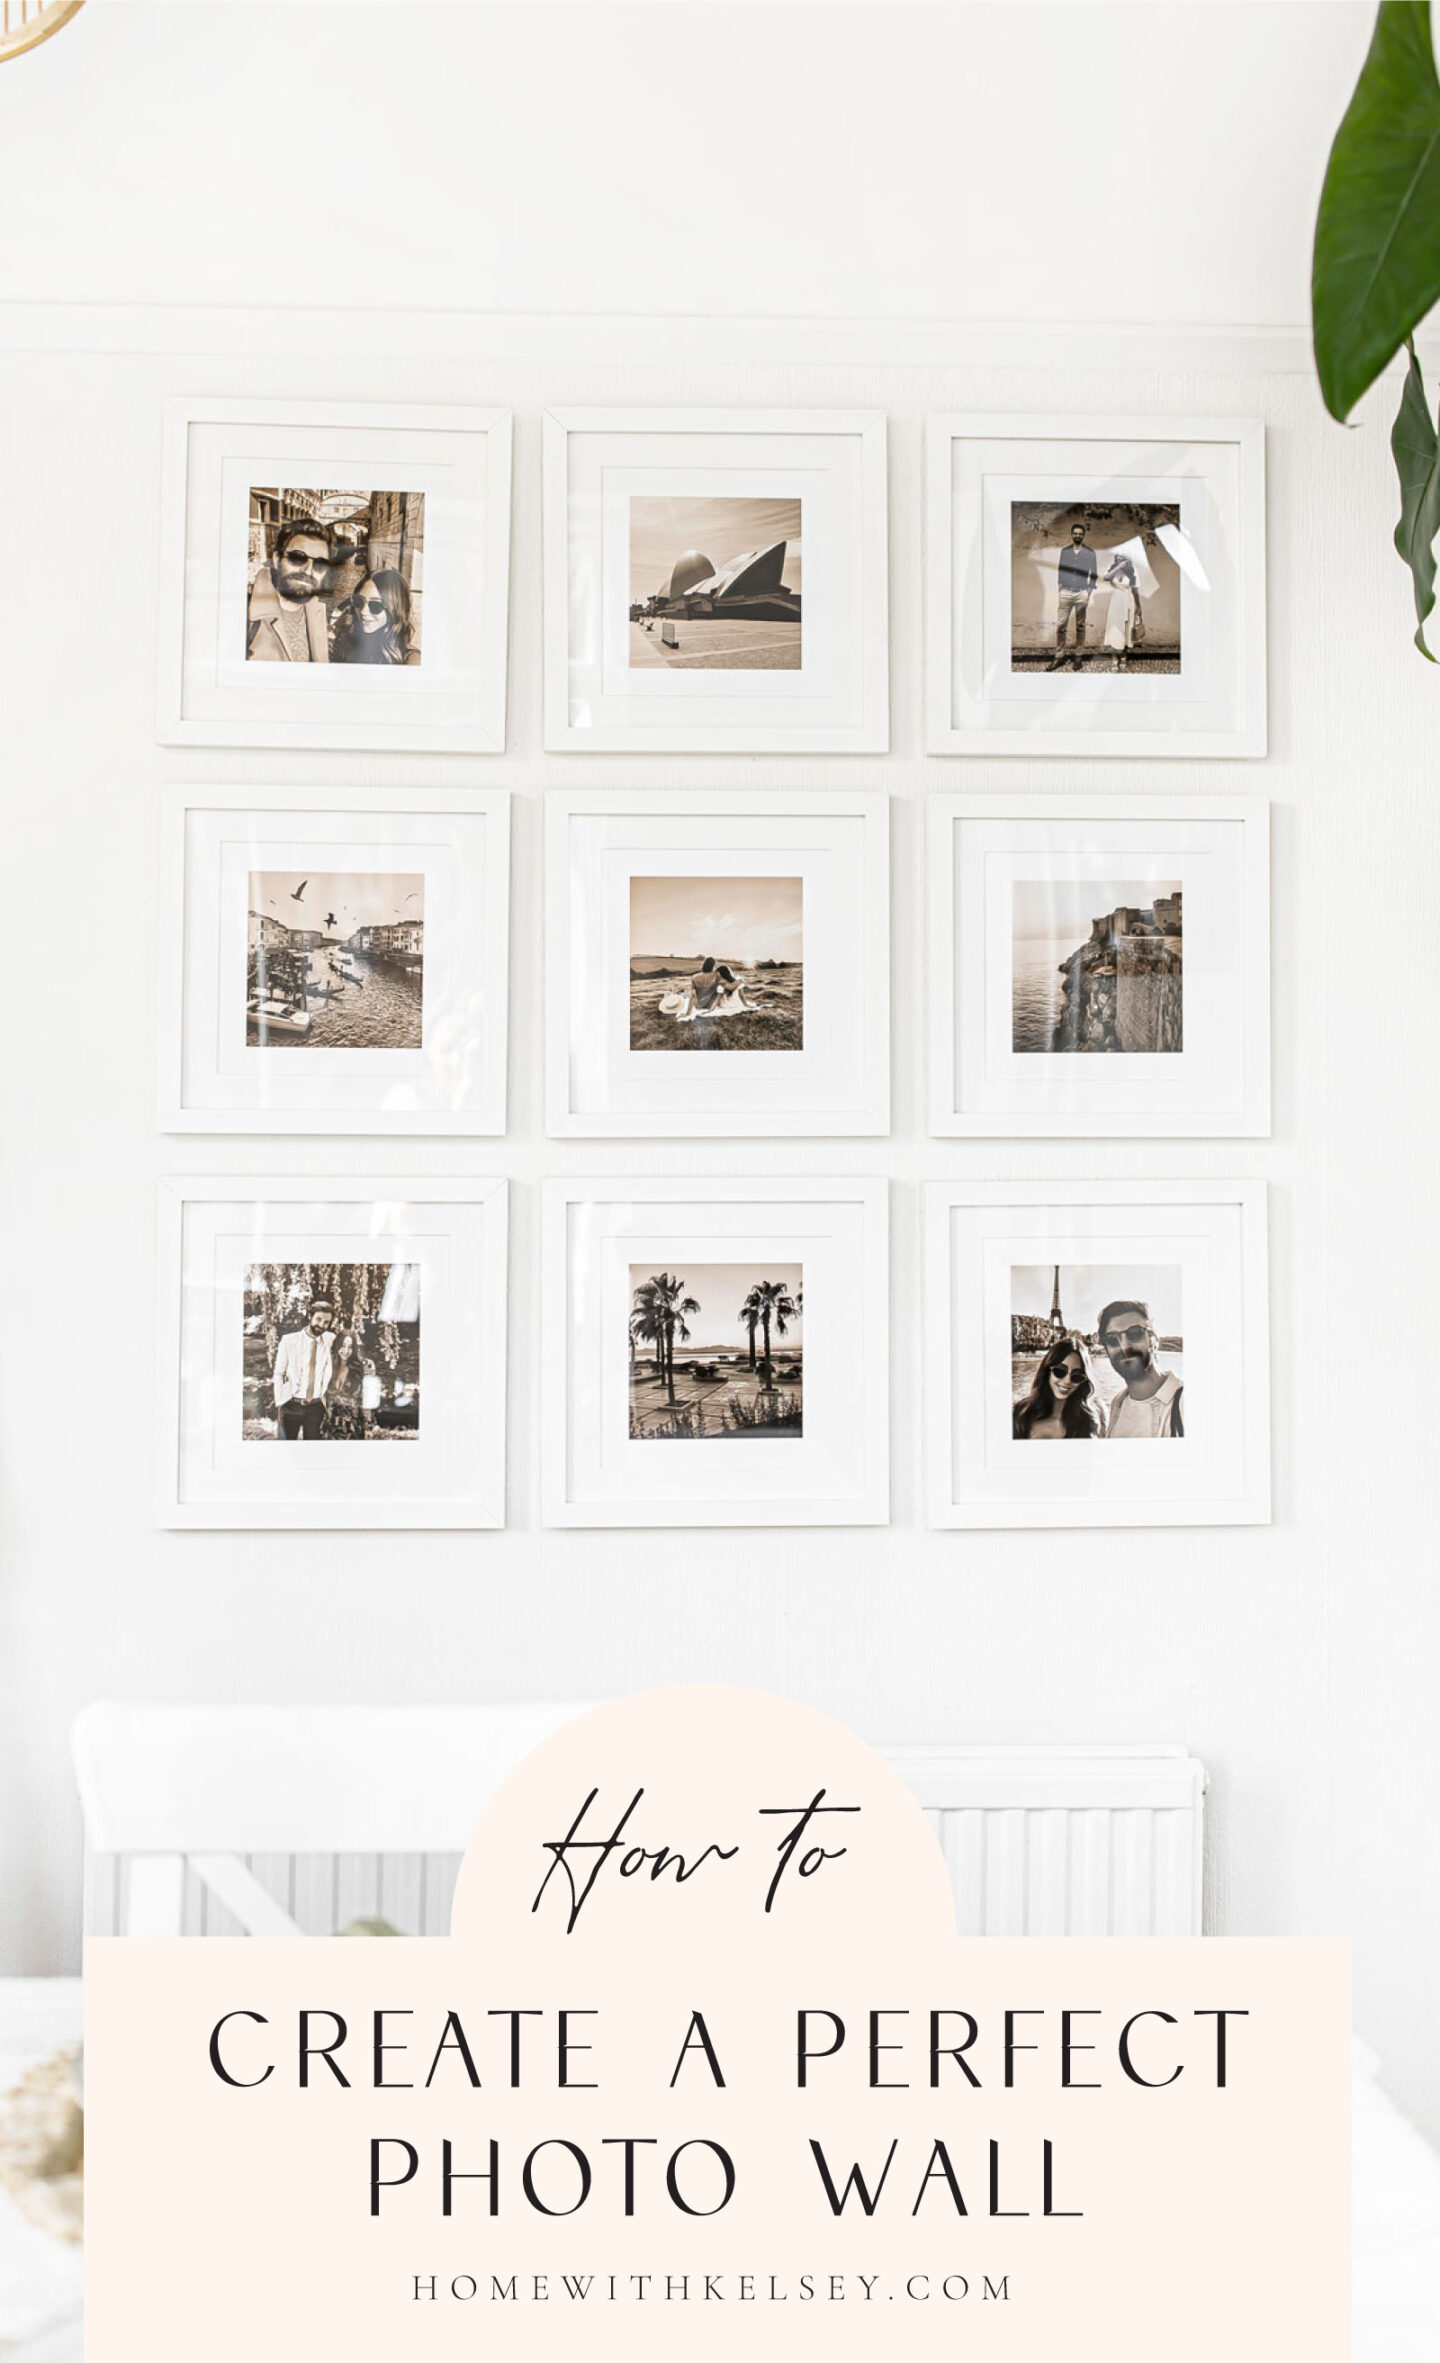
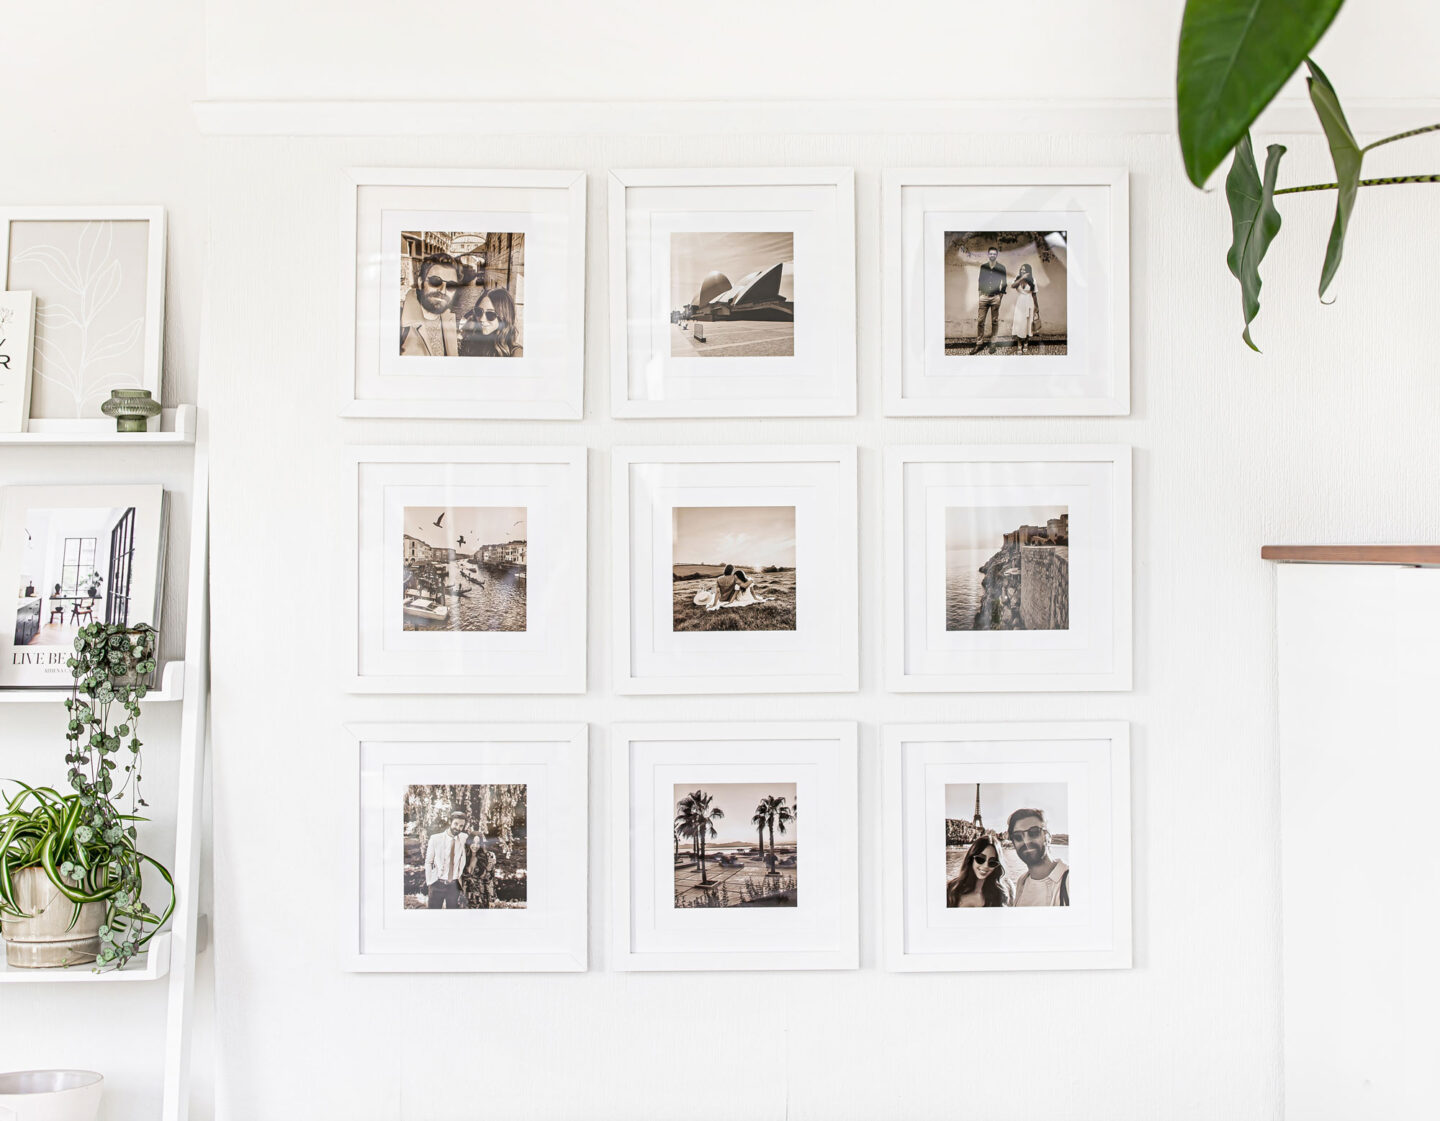
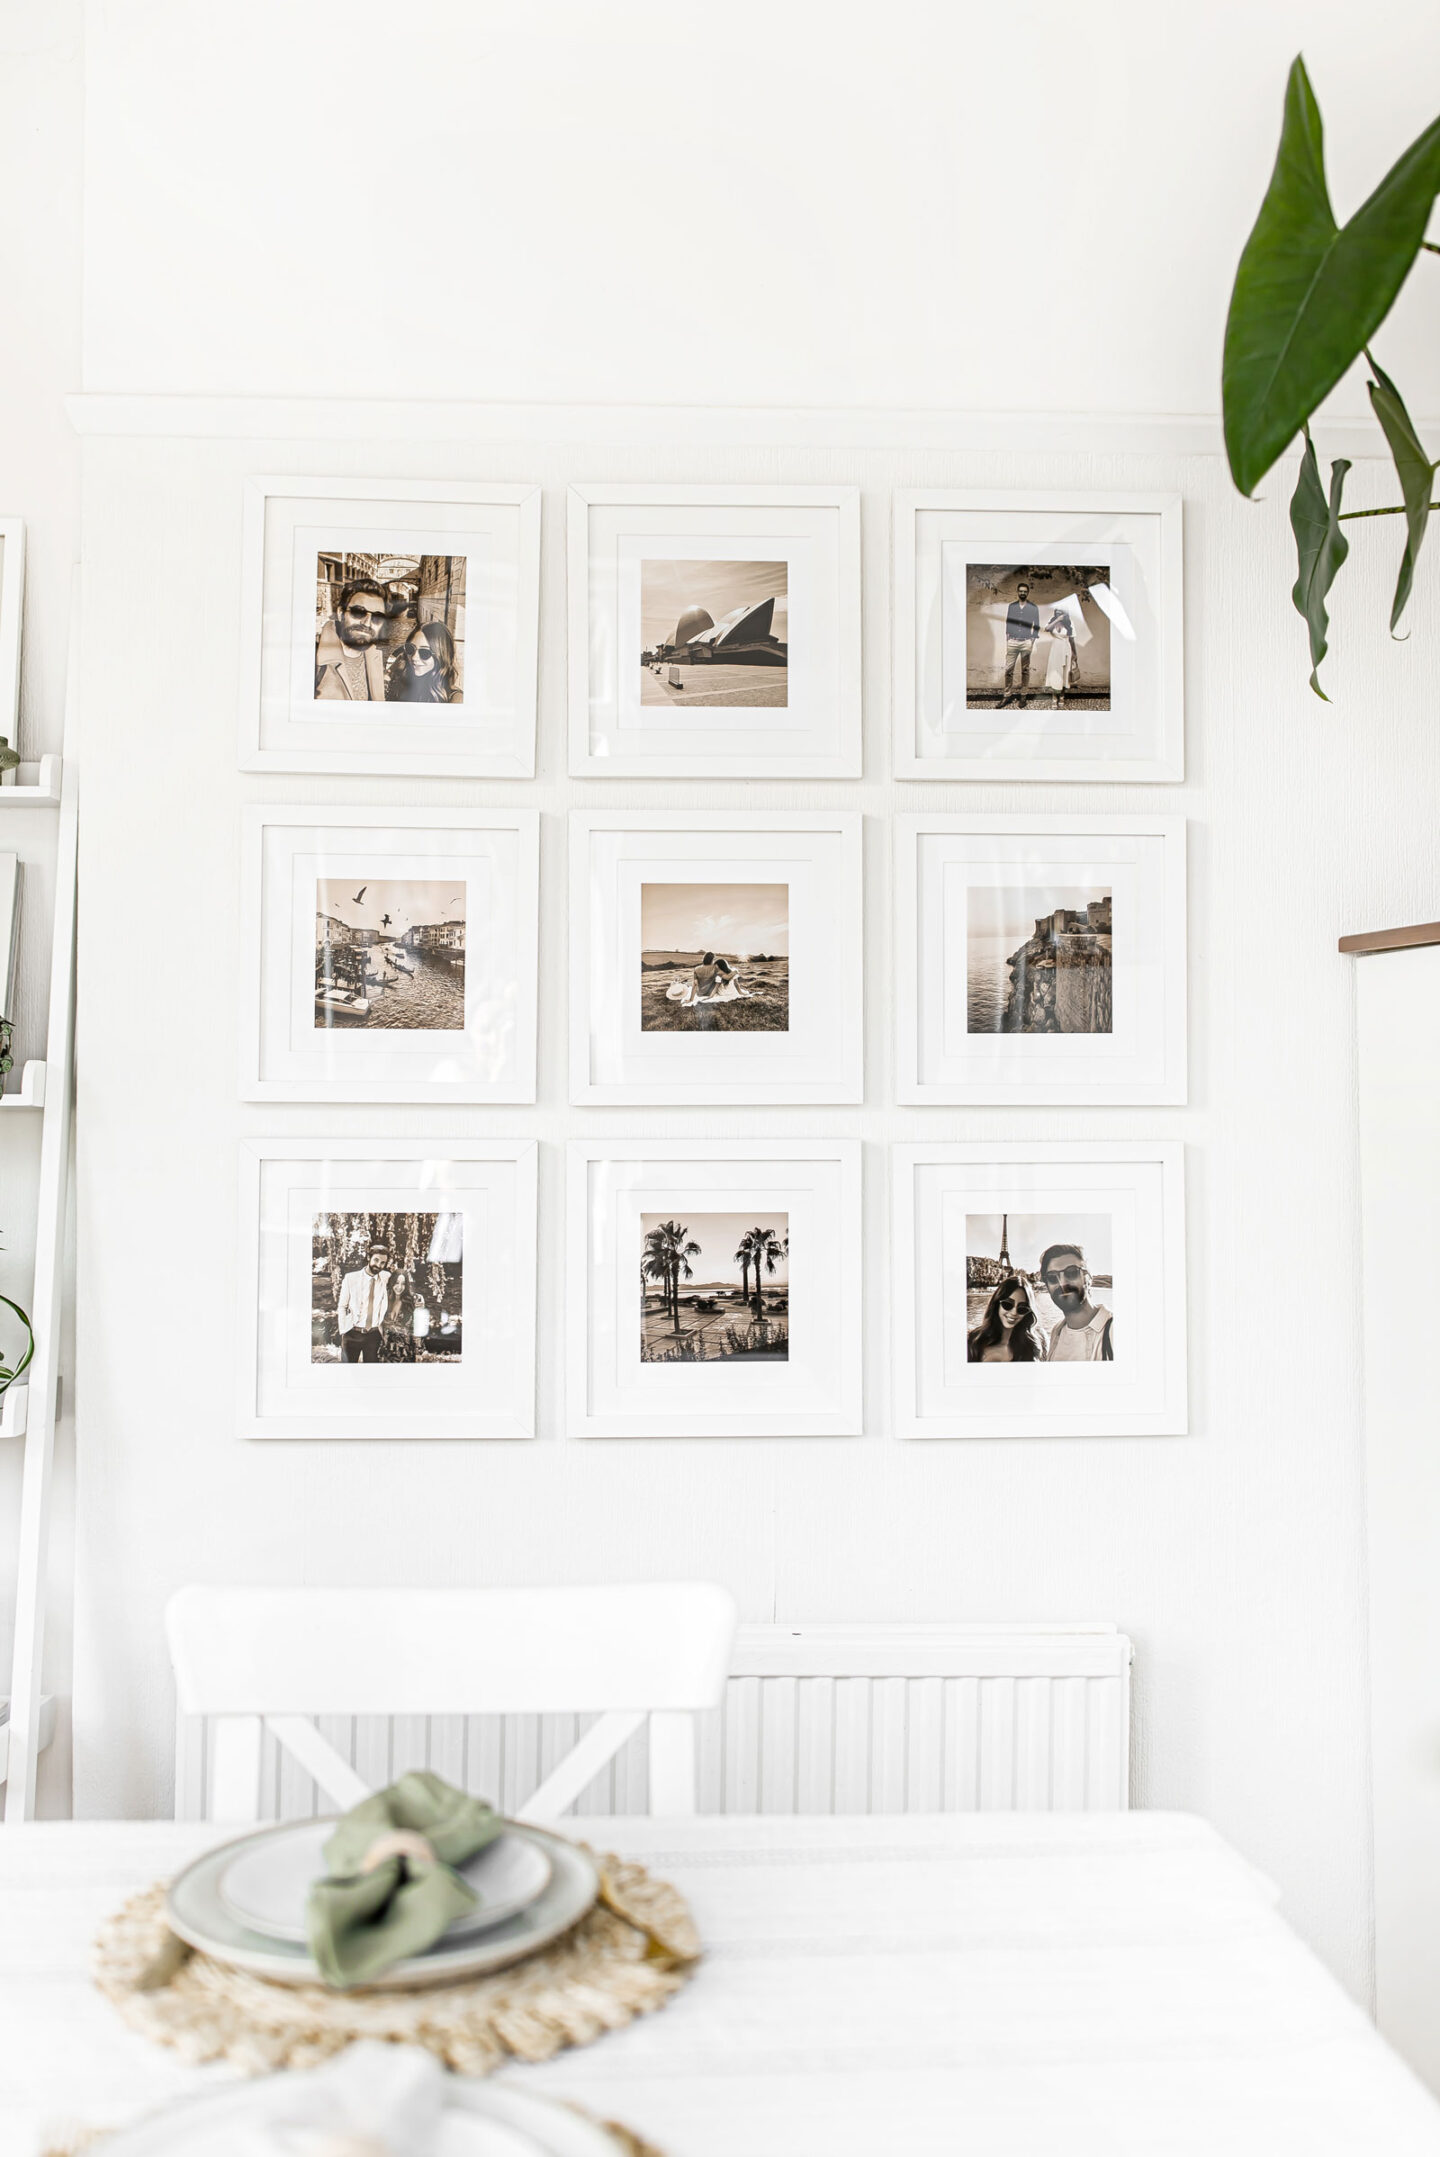
First and foremost, when planning your gallery wall you need to know how much space you have available. You don’t want to wing it otherwise you’ll end up wasting a lot of time and money. Ideally, you want to find an empty stretch of wall in your home which will act as your blank canvas. Use a measuring tape to calculate the width and height of your wall area. Once you have these measurements you can easily determine how many photos frames you can fit within these dimensions. For gallery walls, I love asymmetric and unbalanced layouts however for gallery walls I recommend sticking to an orderly grid format, in sets of 3, 4, 6 or 9. To avoid over cluttering, leave at least 5cm-15cm between each frame and 20cms between a frame and the end of your wall so there is breathing space around your grid. Here are some layout ideas for your gallery wall.

Step 2 — Edit your photos using my FREE Presets
The key to creating a beautiful gallery wall is to use a Lightroom Preset to give your photos a consistent and beautifully edited look – good news for you, I’ve got five FREE Presets to help you achieve just that. No doubt some of your favourite pictures were probably taken with an iPhone since it’s not realistic for everyone to have professionally shot photos. An easy way to achieve a professional look with mobile photos is to give your snaps a simple one-click edit with a Lightroom Preset.
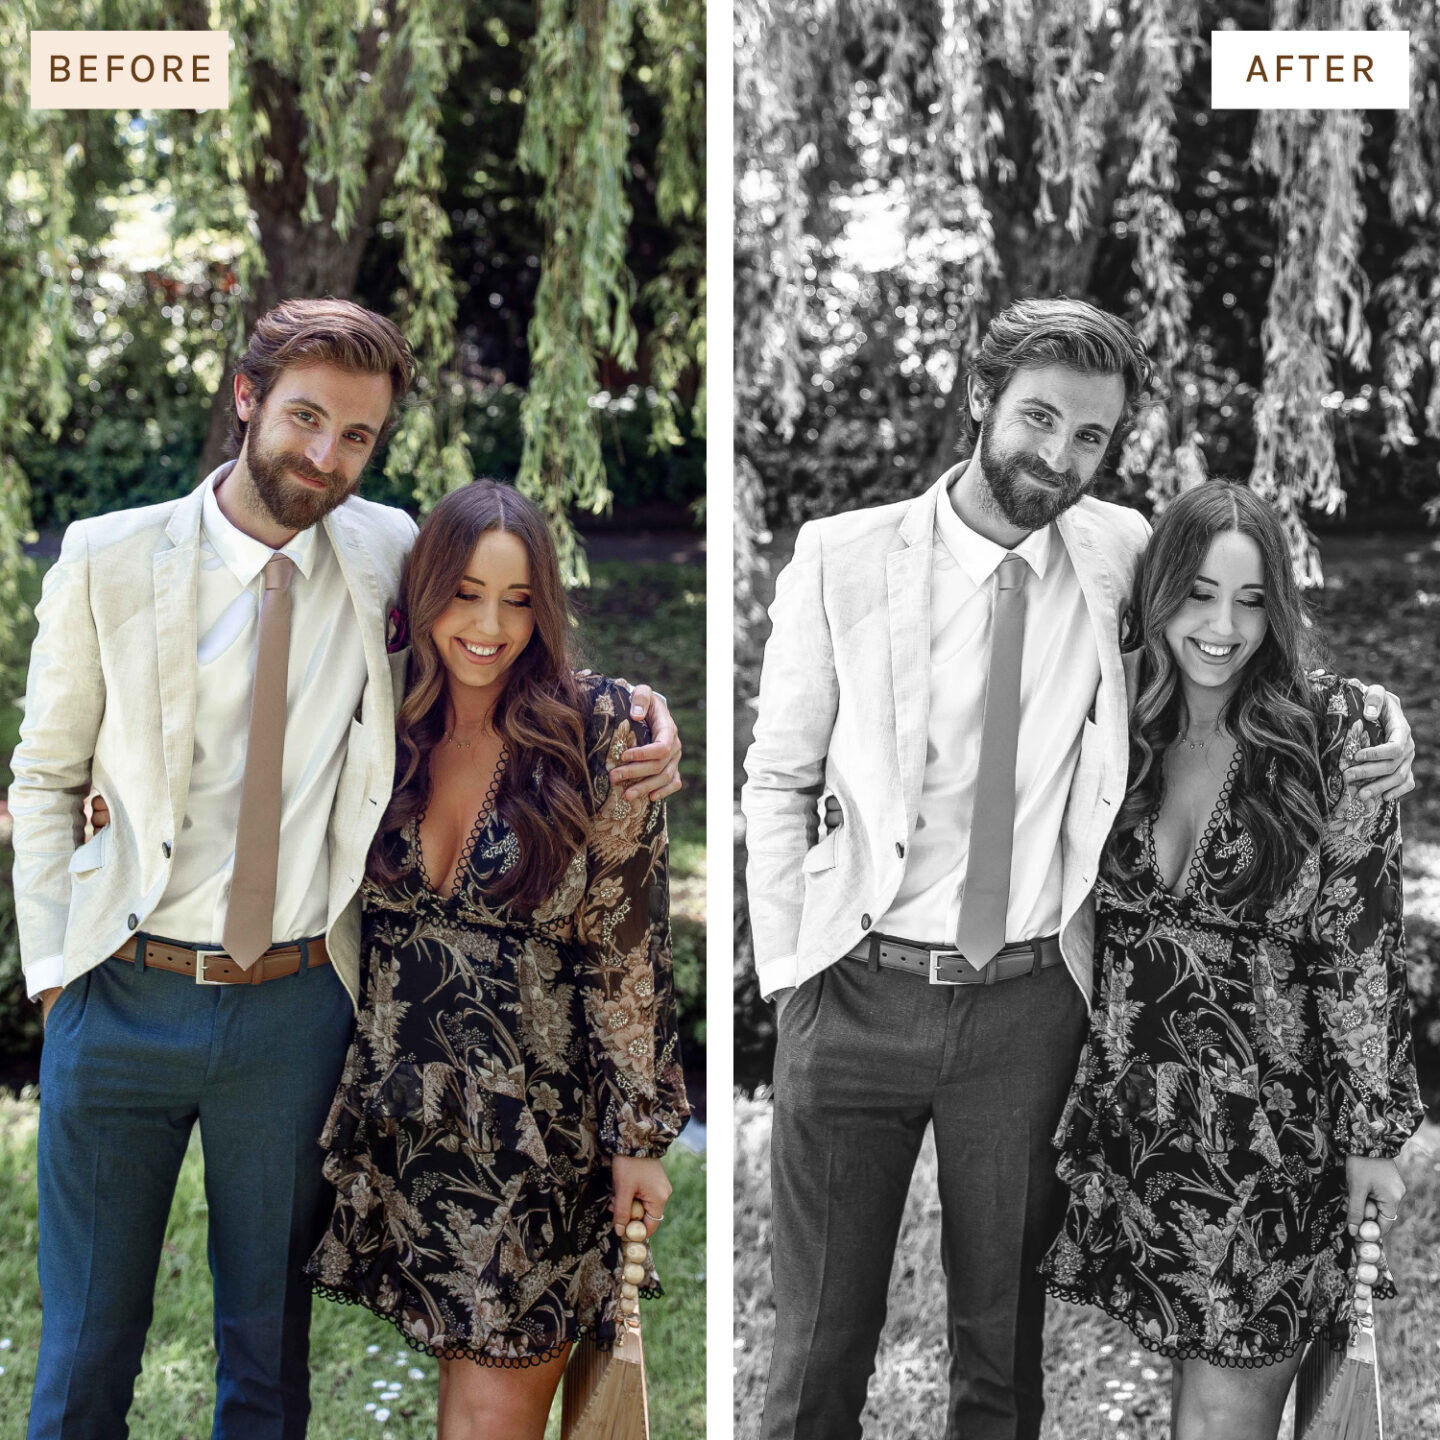
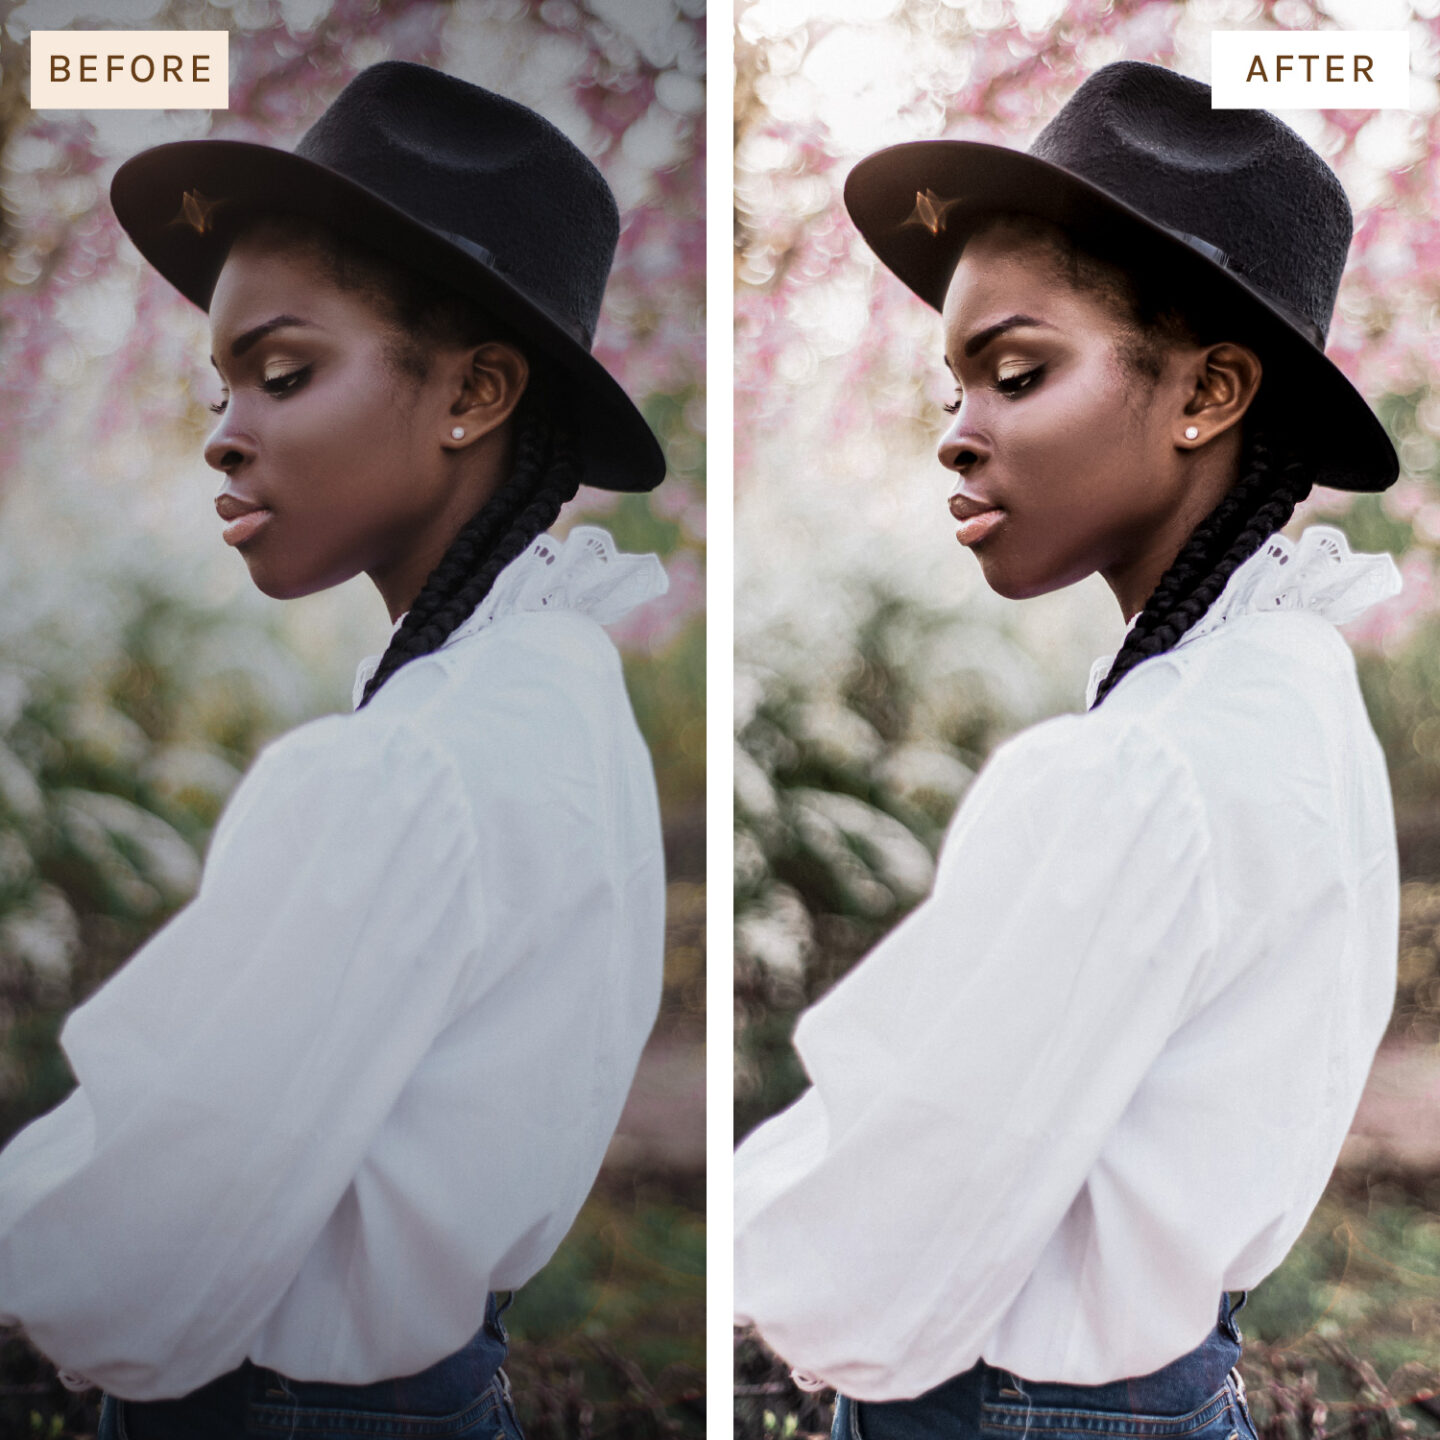
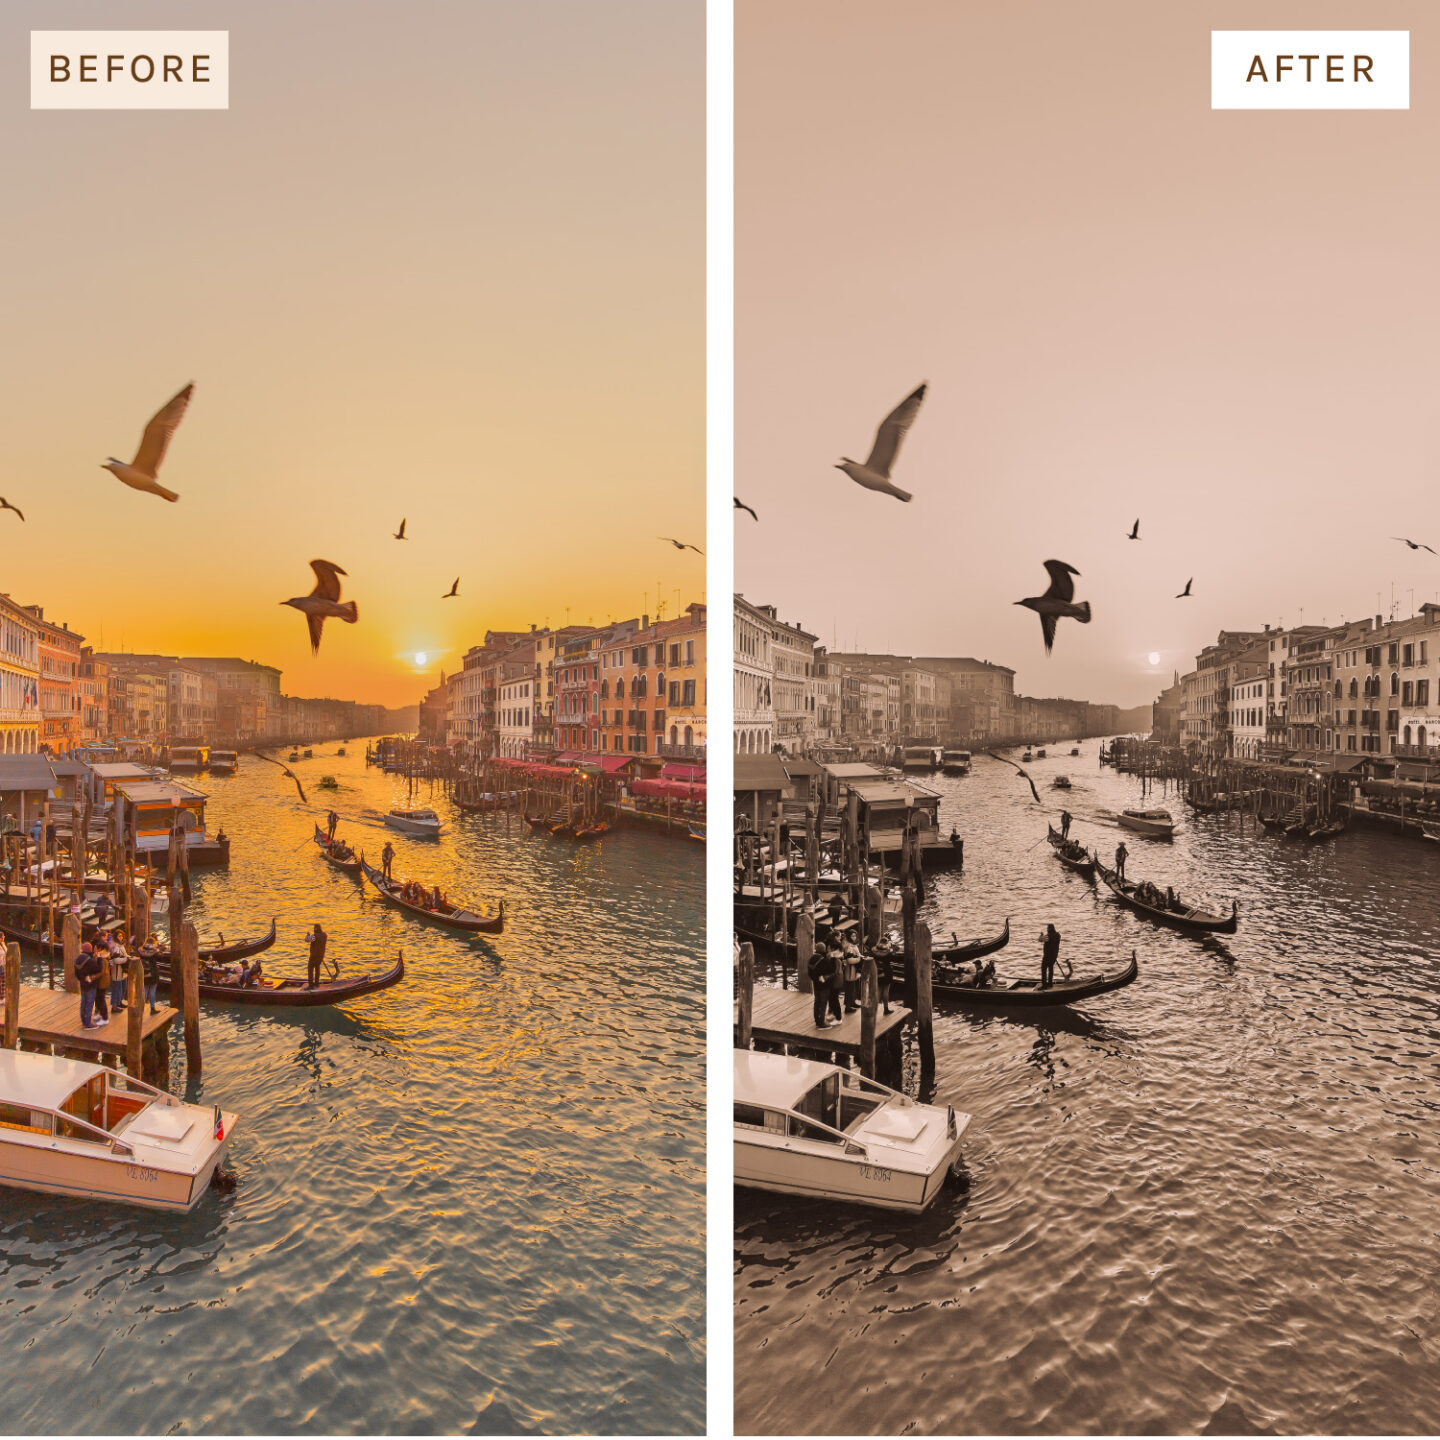
Think of Presets just like Instagram filters, however a million times better! I’ve designed five Presets which work on all skin tones and different types of photos, no matter what device you used to snap them. For my gallery wall, I went for a sepia-toned filter so that all my travel photos looked consistent and timeless. Within the five Presets I created, you will also find a black & white filter, a golden-toned filter and a simple bright & airy edit that will give any photos a luminous glow. CLICK HERE to download these FREE Presets now. FYI you can use these Presets on your mobile phone to edit and prepare your photos for your gallery wall.
Step 3 — Order your photo prints
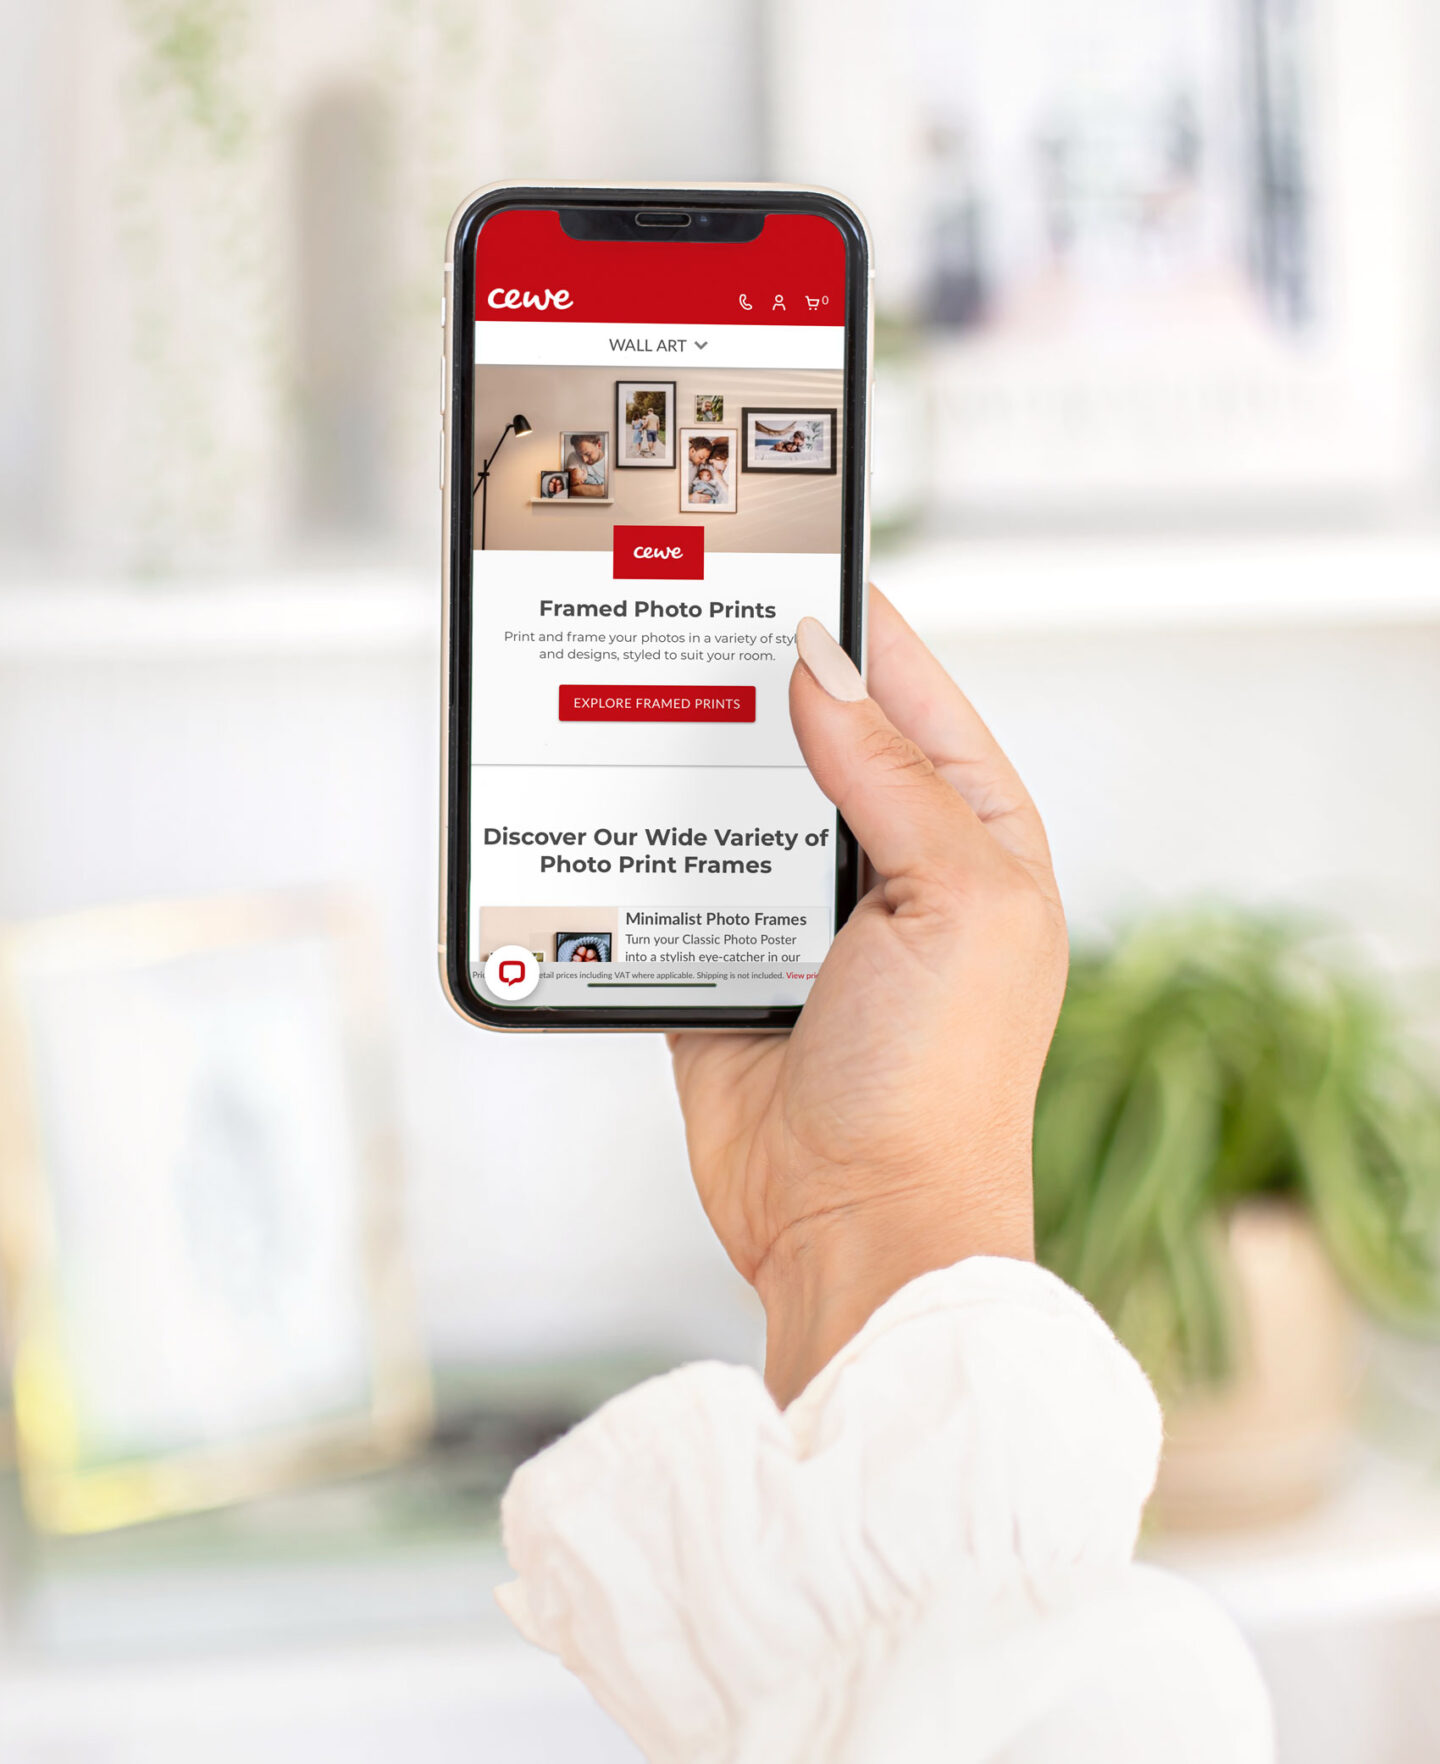
Now that you’ve selected your favourite photos and given them a quick edit in Lightroom, you will need to get your photos printed. If you’ve ever owned a dodgy printer like I have, trust me when I say this step is best left to the professionals and that’s where CEWE is my go-to. At CEWE you can get high-quality Framed Photo Prints delivered to your doorstep that are ready to hang straight out of the box – too easy! There is a wide range of frames available to suit your interior decor style, from minimal white frames to wooden frames for a more rustic feel. For my gallery wall, I went with square 30 x 30 cm frames which work perfectly in a grid layout. Online you will find multiple different sizes to fit your space.
Step 4 — Hang your frames
Hanging photo frames can sometimes be a bit daunting however here are some of my top tips to make this a simple process that you can do yourself. To start I use a steel ruler with an inbuilt spirit level and a pencil to mark the middle points of each frame. Then I like to cut out brown baking paper to the same size as my frames and use Blu-Tack to stick these to the wall where I’ve made pencil marks so that I can actually visualise and see how it’s going to look. The step isn’t 100% necessary, however it can potentially save you a lot of pain later so I always make sure to do this before hanging my frames. Because I rent, I always prefer to use removable hooks with sticky backings so that I don’t have to worry about making any holes in my walls. If I make a mistake I can easily reposition the hooks if need be.

Related:
Enjoyed this article? Find more interior styling tips here.
Interested in creating an Art Gallery Wall in your home, click here for my top tips.
Want to save this post? Pin it for later below! Follow me on Pinterest.